How to create a project
1. Enter your domain.
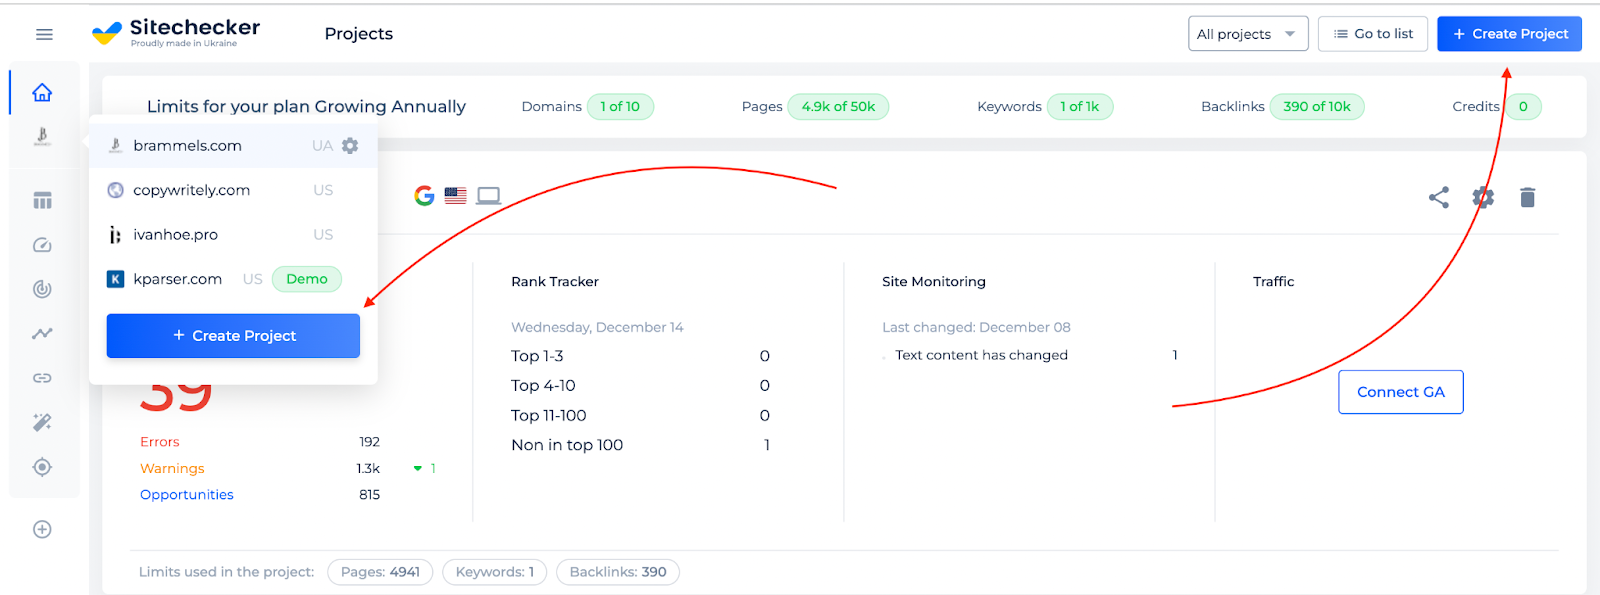
As soon as you are on your homepage, first, in order to start using the tool, you will need to create your project. There are 2 ways you can do this:
- If you have previously added projects to your account, you will need to click on the “Create project” button.
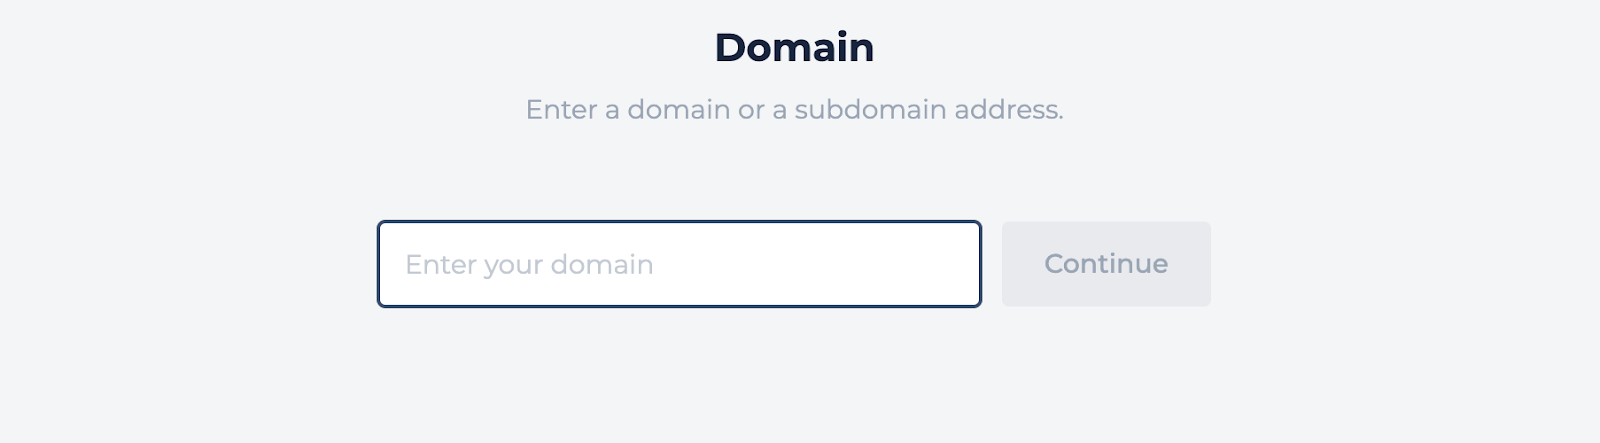
Enter your domain and follow all the next steps.
2. Connect your Google account.
This will allow you to import the data from Google Analytics and Google Search Console into Sitechecker. If you experience some problems with connecting the account, you can read this article for troubleshooting.

This and the next step (Ownership verification) are not obligatory and can be skipped, however, it is better to set up everything in order to achieve the best results.
3. Ownership verification.
You can do this in three different ways, however, the easiest is to connect your Google account to Sitechecker. If you did it in the previous step, it will be verified automatically.

A more complicated way to verify ownership is to add an HTML tag or HTML file to your website.
Such verification will allow you to change the configuration of the Robots.txt file for our crawling bot in the next step.
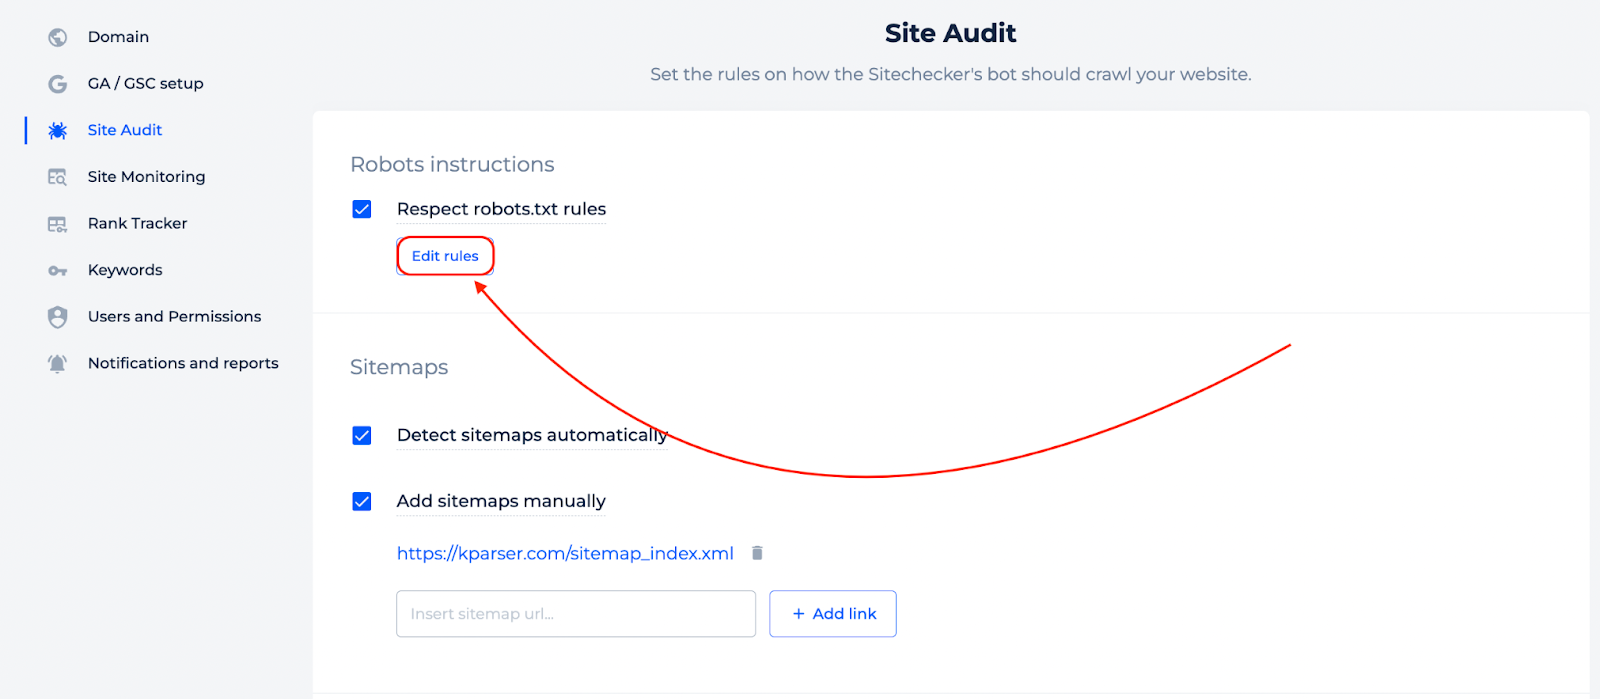
4. Site Audit crawler bot configuration.
Here in the Site Audit section, you can customize the settings for our crawler bot. You can change the configuration of the Robots.txt file for our bot, indicate the preferred sitemaps, and the number of pages to be crawled, and chose the specific filters for our bot, such as crawling subdomains or nofollow links.
By default, Sitecheckerbot will crawl your website respecting the rules in the robots.txt file. But you can edit these rules and this will not change the settings of your actual robots.txt file, as it is just local rules for our bot. However, in order to start editing the rules, first, you will need to verify the ownership of the website. You can only edit robots.txt settings if the ownership is verified.
Here is a quick article on how to properly set up Robots.txt rules.
There is an option to set limits for the number of URLs our bot will crawl on your website. The maximum number is 30.000 though.

Also, you can set the number of parallel requests. It is the number of URLs the Sitechecker's crawler can request simultaneously. Set it to a minimum if the website responds slowly or the crawling process leads to 5xx server errors. (This feature in not available when creating a first project).
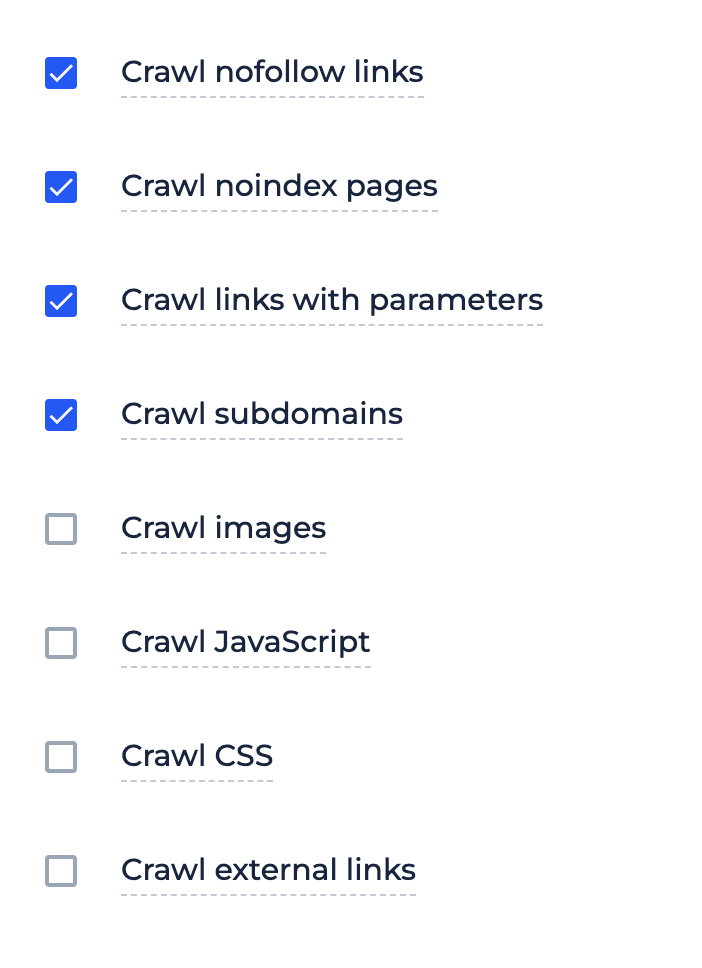
Below you can also find some really useful filters that can customize the crawling to match your personal needs:
You can learn more about how to use Site Audit tool in this guide or video tutorial.
5. Site Monitoring configuration.
This feature will allow you to automatically recrawl your website with a frequency you choose and generate a list of changes that were made within this period of time.
And our new feature “Monitoring via webhook” will allow triggering monitoring when a certain event happens on your website. This will re-crawl it and you will see what exactly was changed in the Site Monitoring tool. ( Available only for users with Premium and Enterprise plans).
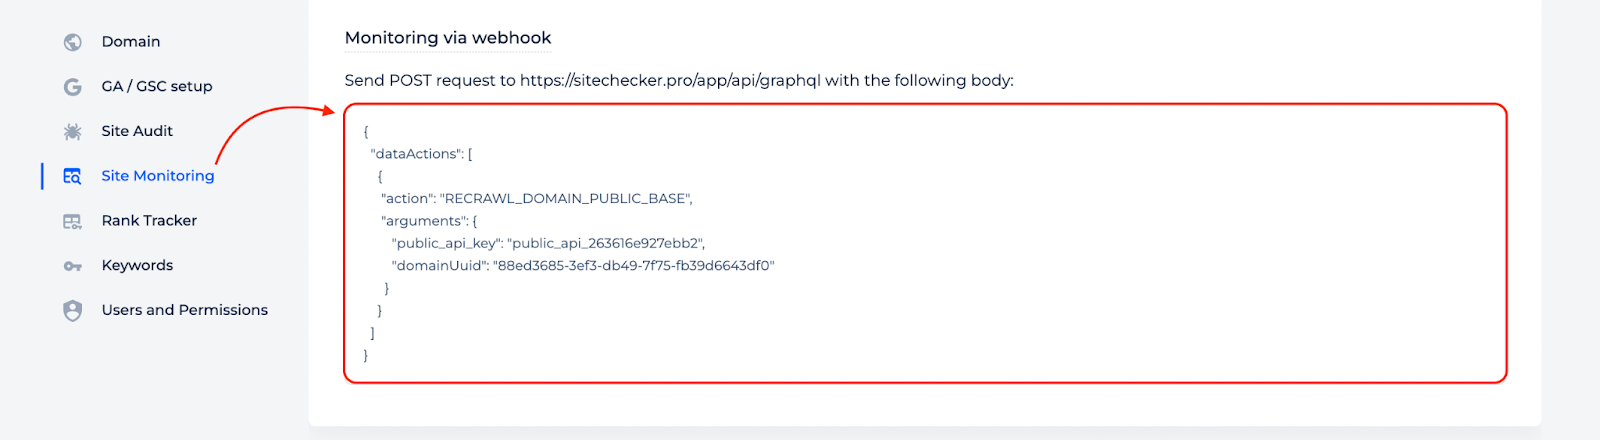
You can copy the body of the code in the settings of your project in the Site Monitoring section.
More on how to use Site Monitoring you can find in this guide or video tutorial.
6. Rank Tracker configurations.
In this step, you will need to indicate the parameters by which you would like us to show you the information for your keywords and positioning. You can choose:
- Search Engine.
- Domain (which represents the country).
- Language.
- City.
- Device (desktop or mobile).
So that a blank user agent will parse the data for your keywords based on the indicated parameters.
Please mind that in order to track the statistics for different countries, languages, or devices, you will need to create a separate project.
More about how to use the Rank Tracker tool you can learn with this article or video tutorial.
7. Adding Keywords.
This step will offer you to add keywords. We have already generated some for you (you can see it in the pop-up window as soon as you navigate to this step). However, you can add them manually one by one or import them in bulk using the Import Keywords button.

If you do not have some in mind, you can use our Research keywords tab and we will find the following keywords:
- Your website keywords.
- Long-tail keywords (for the cases when the client is closer to the point of purchase).
- Related keywords.
- And the keywords your competitors rank for.
All the keywords can be grouped and assigned to a specific URL for tracking.

Here is what the grouped keywords look like:

As soon you add the keywords for tracking, it will take up to 20 minutes to collect the data and show it in the Rank Tracker tool.
8. Users and Permissions.
This is a really useful feature if you are working in a team and you would like to share the project with your colleague or a client.
There are 2 permissions:
- View - When a person you share a project with can only view it and cannot make any changes.
- Edit - This permission will allow another person to perform the same actions you can do except adding other users, deleting the project, or managing your slack or email notifications.
After you add an email of the person you want to share the rights with and indicate the type of permission, he/she will get an email invitation to view or edit your project. Also, it is possible to share the project via a link, however, the invitee will only have access to view the project.

Please mind that the other person should be registered and have at least a free account to access the project.
9. Alerts and Reports.
The last step is pretty straightforward, here you can choose the notifications and reports you would like to receive to your email address.

Also, we are glad to announce a new important integration in Sitechecker — Slack integration.
With Slack, you can create a separate channel to get all alerts and reports and discuss any important updates in threads. More about how to connect to Slack you can find in this article.
As soon as we click finish, the crawling process will start. It may take from 2 to 20 minutes for the full report to be generated.
If you still have some questions, feel free to contact us at support@sitechecker.pro.